Stripe Integration
Stripe is currently the most stable and popular global payment processing platform that simplifies the payment process for global businesses, allowing SaaS products to easily accept various payment methods.
In this chapter, we'll introduce how to integrate Stripe into your project.
Registration and Basic Configuration
-
Visit Stripe and register an account
-
Go to the Dashboard page, start creating an account from the top left corner, then complete the prerequisite steps according to the page guidance.
Getting API Keys and Creating Webhooks
- After registration, you should enter Sandbox mode during development until all processes are debugged, then copy product information to Live mode.

- Go to Developer - API Keys page and copy the Secret key and Publishable key to the environment variables
STRIPE_SECRET_KEYandSTRIPE_PUBLISHABLE_KEY.

- Navigate to Developer - Webhooks page, click the “Create an event destination” button to create a Webhook endpoint.

This will open a form page where you need to fill in the webhook endpoint. For local development, you need to create a tunnel address at this step.
- Create a tunnel address (skip this step in production environment).
Open your Cursor or VSCode, set up a Forward Port, enter your local server port, then set it to Public, and copy the Forwarded Address.

Good to know:
- Sometimes after not using it for a long time, the Forward Port may still appear open but has actually become invalid. Simply reopen it — this won't change the Forwarded Address.
- If Cursor encounters failure when setting up Forward Port, please follow community-provided solutions: Windows Solution or Mac Solution, or switch to a familiar tunneling tool.
- Copy the Forwarded Address to the Webhook Endpoint URL, then click
Select eventsto choose the required events.
- For local environment: Webhook Endpoint URL should be Forwarded Address + API path (i.e.,
<your_forwarded_address>/api/stripe/webhook) - For production environment: Webhook Endpoint URL should be production environment address + API path (i.e.,
<your_server_address>/api/stripe/webhook)
Good to know:
- For production environment,
<your_server_address>must be exactly the same as your actual service address, otherwise the Webhook will not receive events.- For example:
- If your website address is
https://nexty.dev, then<your_server_address>ishttps://nexty.dev.- If your website address is
https://www.nexty.dev, then<your_server_address>ishttps://www.nexty.dev.

- Select the following 7 events:
- charge.refunded
- checkout.session.completed
- customer.subscription.created
- customer.subscription.updated
- customer.subscription.deleted
- invoice.paid
- invoice.payment_failed
- radar.early_fraud_warning.created
These events are sufficient to complete a robust one-time payment and subscription payment flow, and all these events have corresponding handling logic in the NEXTY.DEV boilerplate.

- After the Webhook is created, get the Secret and copy it to the environment variable
STRIPE_WEBHOOK_SECRET.

Creating Products
Now go to the Product Catalog page and create a product.

Here's the content filled in for the NEXTY.DEV product for reference.


After creation, click on the product to enter the details page.

You can see the Product ID and Price ID. In subsequent steps, we'll use the Price ID in the admin dashboard pricing plans.

You can follow the same steps to create additional subscription products.
Relationship Between Products and Pricing
In Stripe, a Product can contain multiple Prices, but in subscription scenarios, you need to carefully consider the product structure design to accommodate users' potential needs for subscription plan upgrades.
Stripe's subscription upgrades are based on switching between different products, not between different prices under the same product. This means:
- Supported: Product A → Product B upgrades
- Limitation: Direct upgrades between different prices within the same product are not possible
Therefore, it's recommended to organize products by feature tiers rather than placing all pricing plans under a single product. For example:
Product1: Basic Plan
├── Price: $10/month (USD)
└── Price: $100/year (USD)

Product2: Premium Plan
├── Price: $20/month (USD)
└── Price: $200/year (USD)

Product3: Enterprise Plan
├── Price: $50/month (USD)
└── Price: $500/year (USD)
For more details on implementing subscription upgrades and downgrades, see: Subscription Changes
Enable Radar
Stripe has a Radar feature that allows you to customize rules to identify and block high-risk payments to protect your account security.
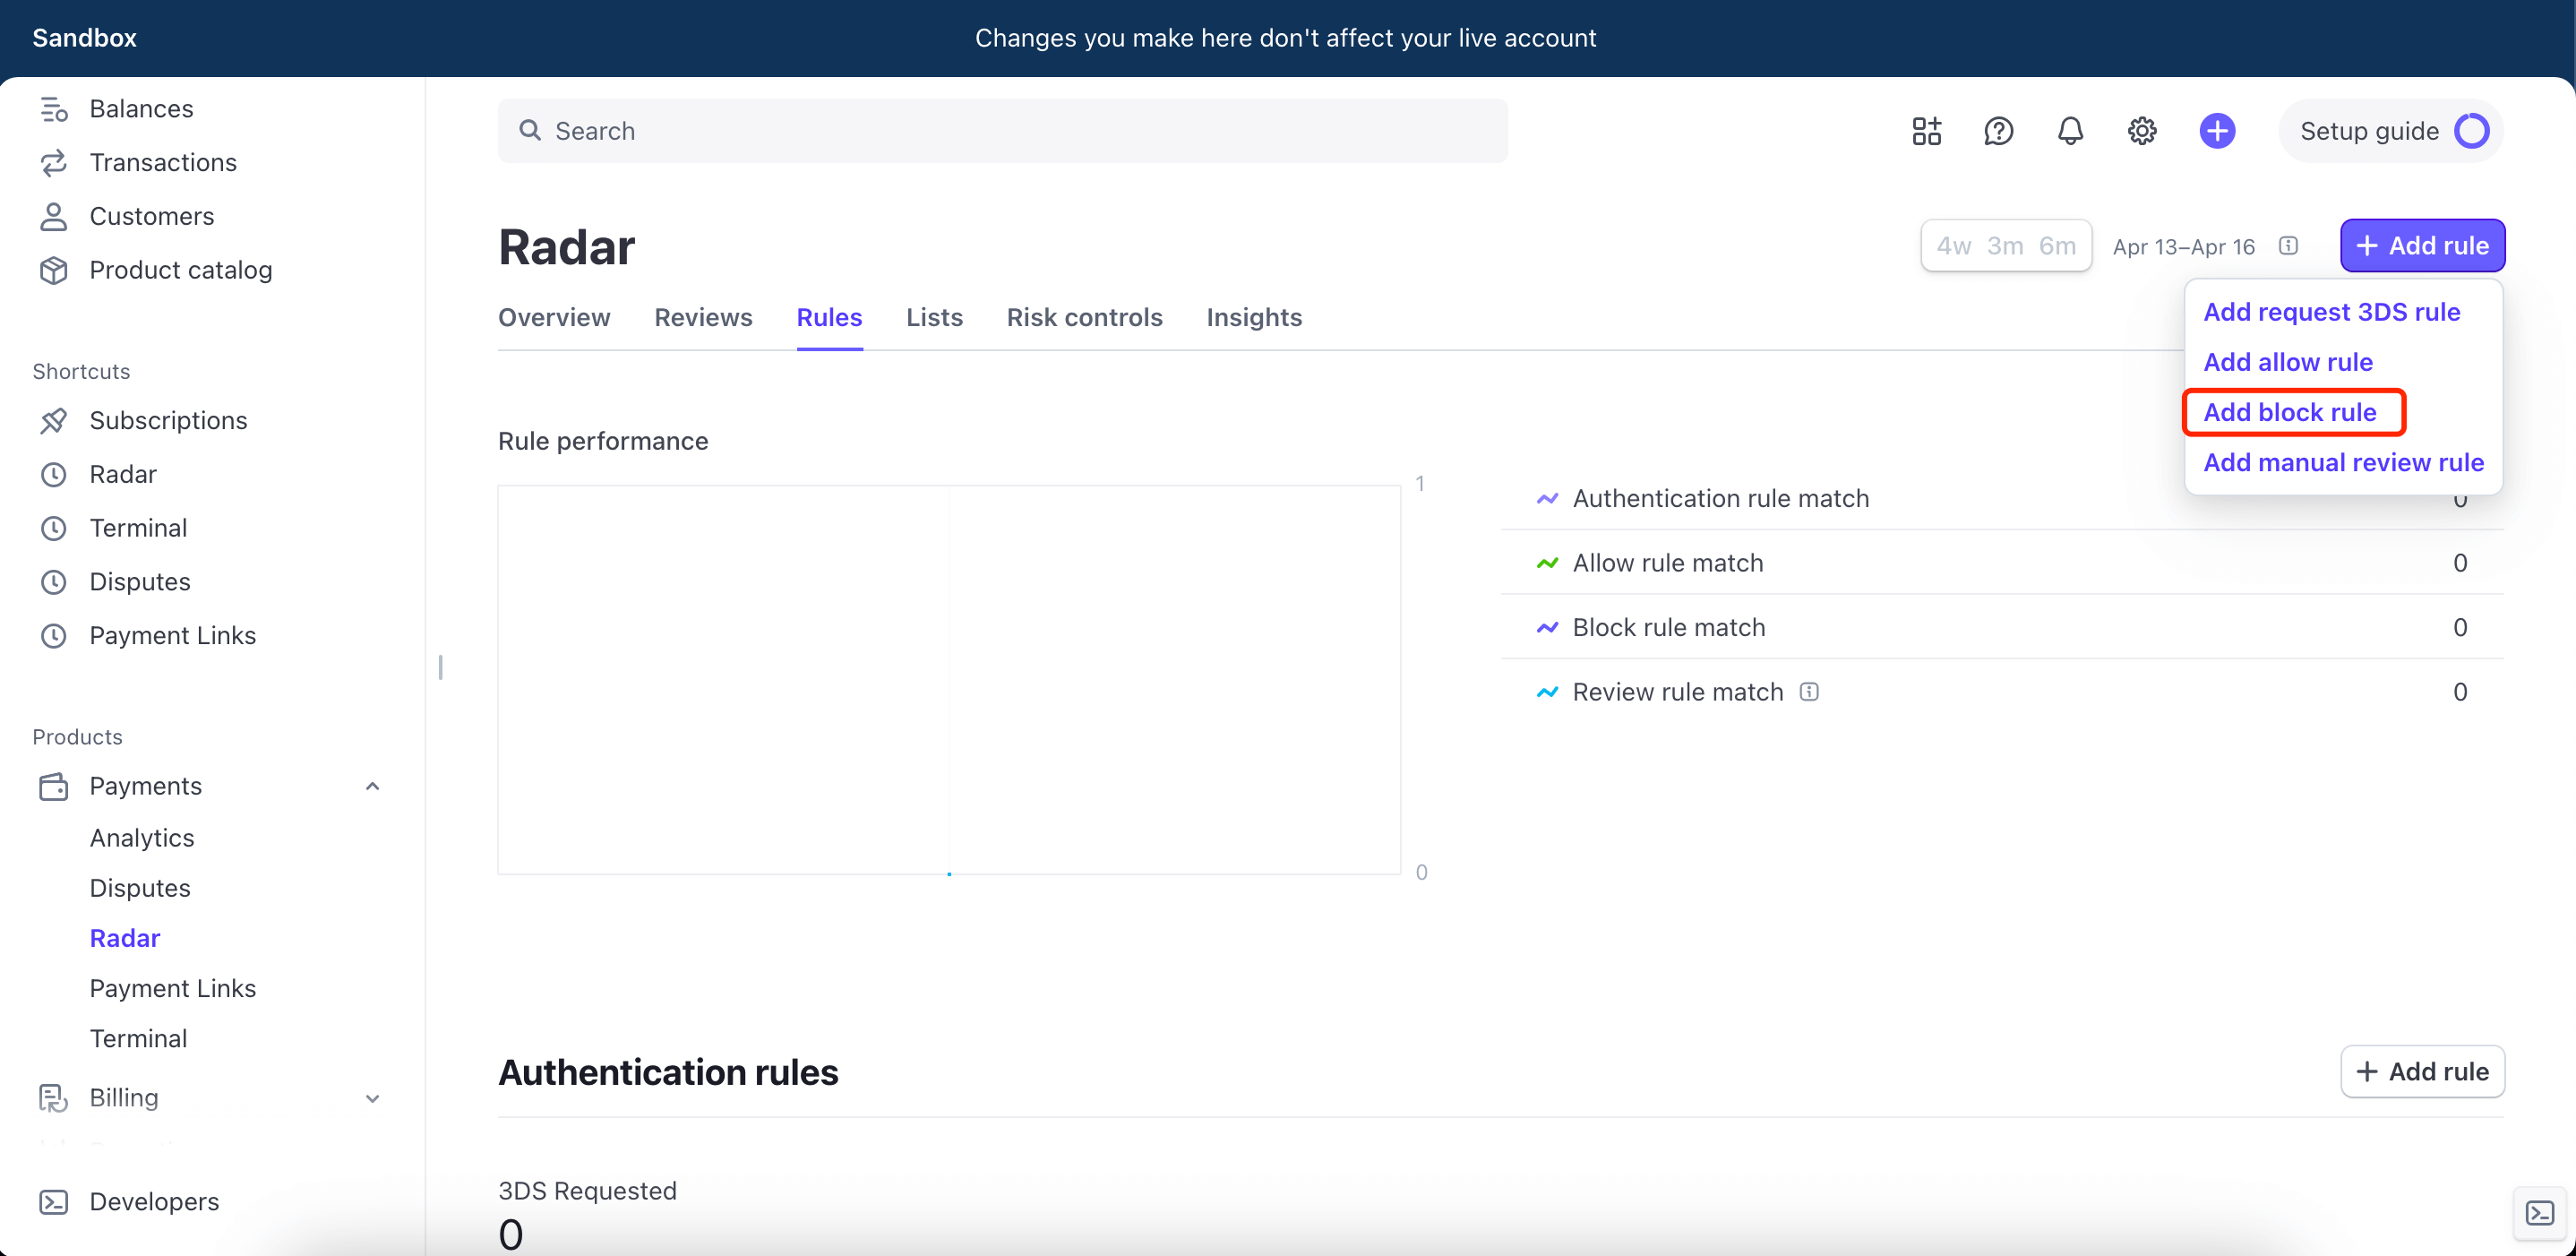
However, this is a paid feature that can be used for free in Sandbox.
If you've purchased Radar functionality in Live mode, you can add the following rules:
New users created within a week using more than 5 cards
:card_count_for_customer_weekly: > 5 and :hours_since_customer_was_created: <= 168

Same customer using more than 4 credit cards within a week
:card_count_for_customer_weekly: > 4 and :card_funding: = 'credit'

Weekly high-risk card attempts greater than 3
:card_count_for_customer_weekly: > 3 and :risk_score: > 50

Daily high-risk attempts from same IP address
:total_charges_per_ip_address_daily: > 10 and :risk_score: > 40
and add request 3DS rule:


:risk_score: >= 40Limit User Concurrent Subscriptions
If your product has subscriptions and you want to limit users to only 1 subscription at a time, you can set this in the Payments module.


This setting can also prevent users from duplicate subscriptions, which could create disputed orders. Even if disputes are successfully appealed, there's still a $15 handling fee.
Manage Payment Methods
On the Settings - Payment Methods page, you can manage user payment methods. It's recommended to apply for Alipay and WeChat Pay, which allows more users to use your product, especially users in China.

When applying for Alipay and WeChat Pay, Stripe may request additional materials via email. Provide them according to the email instructions. These materials are required by Alipay and WeChat Pay, and Stripe will only officially enable them after approval from Alipay and WeChat Pay.
However, the permissions enabled here only support one-time payments, not subscription products. If you want your subscription products to also support Alipay and WeChat Pay, you need to contact Stripe customer service to apply separately.
Set Up User Portal
The User Portal is a page where users can view and modify their payment methods, subscription status, billing information, etc. Providing a Portal entry in your product can increase user trust.

Live Mode
After completing payment flow debugging in Sandbox mode, you can directly copy the created products to Live mode with one click. Other steps need to be completed manually - you can use the steps introduced here as a checklist.
Conclusion
After completing the above configuration, you can follow the remaining steps in the Launch Source Repository documentation to update pricing plans and test the payment flow.